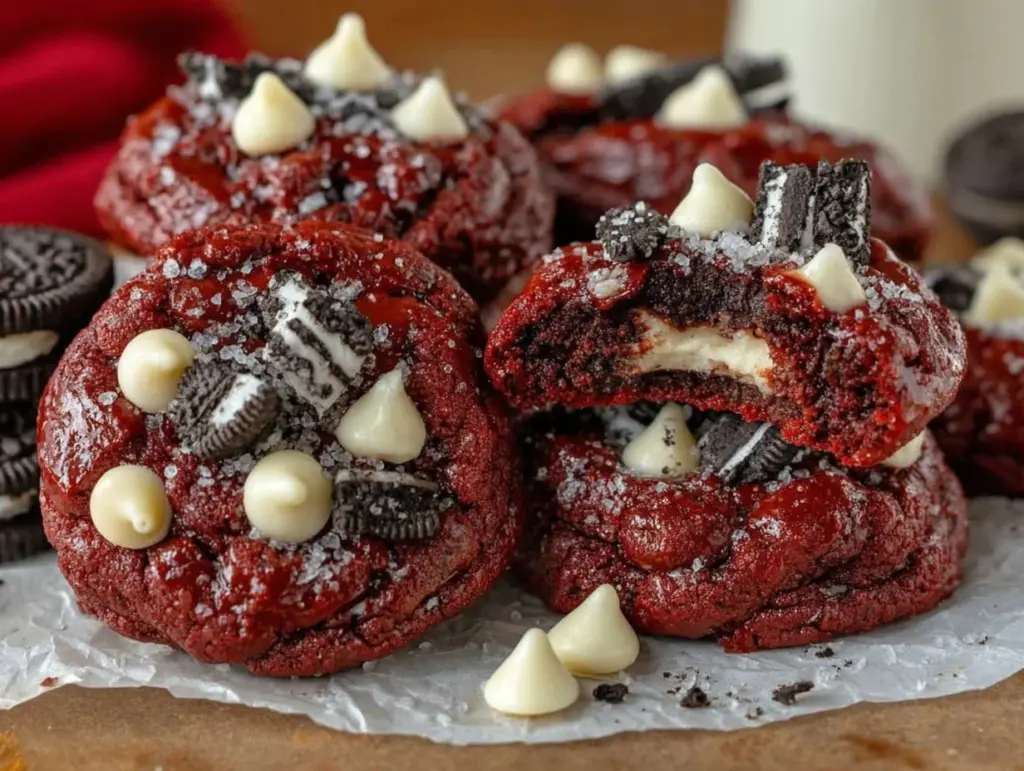
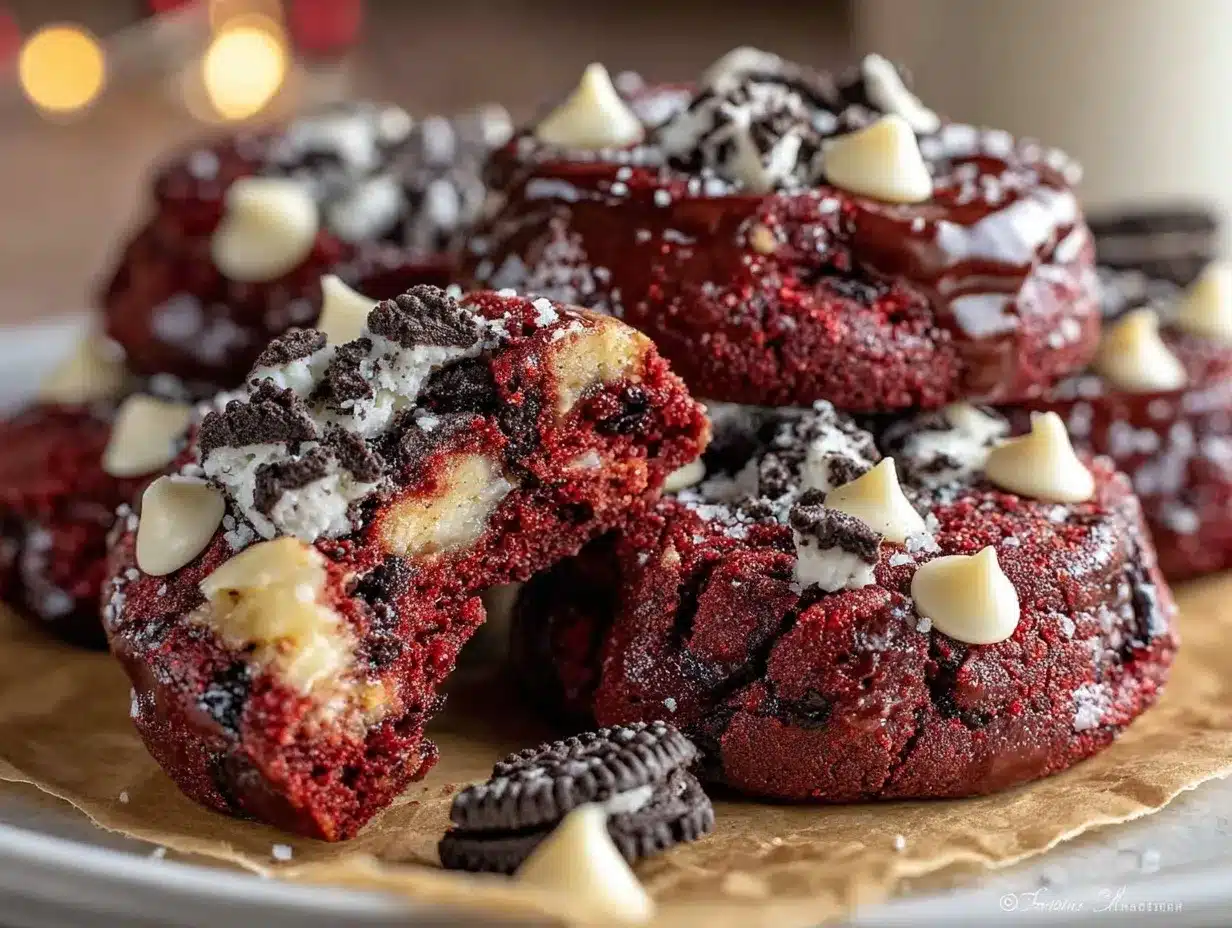
The moment you bite into a warm red velvet Oreo cookie, it’s like a little party in your mouth! The rich cocoa flavor combined with that iconic red hue just screams celebration. Honestly, it’s hard to resist the allure of these delightful treats. I remember the first time I made these cookies; it was for a friend’s birthday. The excitement in the kitchen was palpable, and the aroma that wafted through the air was nothing short of heavenly!
Red velvet cookies have a special place in my heart. They remind me of cozy gatherings and sweet moments shared with loved ones. Plus, they’re incredibly versatile! Whether you’re hosting a holiday party, celebrating a birthday, or simply treating yourself on a Wednesday, these cookies are perfect for any occasion. And let’s face it, who doesn’t love a dessert that looks as good as it tastes? With their vibrant color and creamy filling, these cookies are sure to impress anyone who takes a bite!
This recipe for delicious red velvet Oreo cookies is not only simple to make but also uses ingredients you likely already have in your pantry. Trust me; once you try this recipe, you’ll find yourself making these cookies over and over again. So, gather your ingredients, put on your apron, and let’s get baking!
Why You’ll Love This Recipe
Let me tell you why these red velvet Oreo cookies are a total game-changer in the dessert department. After whipping up countless batches, I can confidently say that they’re not just delicious; they’re downright irresistible!
- Quick & Easy: You can whip these cookies up in under 30 minutes, perfect for those last-minute cravings or unexpected guests.
- Simple Ingredients: No need for fancy ingredients; you likely have everything at home. It’s all about the basics!
- Perfect for Any Occasion: Whether it’s a birthday, holiday, or just a regular Tuesday, these cookies fit right in. They’re versatile and festive!
- Crowd-Pleaser: Trust me—everyone loves these cookies! They’re always a hit with both kids and adults.
- Unbelievably Delicious: The combination of red velvet and creamy filling takes these cookies to a whole new level of goodness.
What sets this recipe apart is the balanced flavor profile. The slight tanginess of the cream cheese filling complements the sweetness of the cookies perfectly. And let’s be real: there’s something magical about biting into that creamy center! These aren’t just ordinary cookies; they’re a sensational treat that makes any moment feel special.
These cookies have a way of making you feel good inside. They’re the kind of dessert that brings back memories and creates new ones. So, whether you’re baking them for yourself or sharing them with others, you’re bound to make someone’s day a little brighter!
What Ingredients You Will Need
This recipe uses simple, wholesome ingredients to create cookies that are both delicious and visually appealing. Here’s what you’ll need:
- For the cookies:
- 1 ½ cups all-purpose flour (sifted)
- ½ cup unsweetened cocoa powder (for that rich flavor)
- 1 teaspoon baking soda
- ½ teaspoon salt
- ½ cup unsalted butter (softened to room temperature)
- 1 cup granulated sugar
- 1 large egg (at room temperature)
- 1 tablespoon red food coloring (for that vibrant hue)
- 1 teaspoon vanilla extract
- 1 teaspoon white vinegar (to enhance the flavor)
- For the cream cheese filling:
- 8 oz cream cheese (softened)
- ½ cup unsalted butter (softened)
- 2 cups powdered sugar (sifted)
- 1 teaspoon vanilla extract
Feel free to mix things up! You can easily swap out the food coloring for a different hue or adjust the sweetness based on your preference. And if you want to add a little crunch, toss in some chocolate chips or chopped nuts! The possibilities are endless.
Equipment Needed
- Mixing bowls (for blending ingredients)
- Electric mixer (or a whisk for a workout!)
- Baking sheet (line with parchment paper for easy clean-up)
- Cookie scoop or spoon (to shape the cookies)
- Cooling rack (to let those cookies cool down)
If you don’t have an electric mixer, no worries! A good old-fashioned whisk will do just fine, and you’ll get a bit of arm exercise in the process. And if you’re short on baking sheets, you can use any flat pan—just make sure to line it to prevent sticking.
Preparation Method
- Preheat your oven to 350°F (175°C). This ensures that your cookies bake evenly and achieve that perfect texture.
- In a medium bowl, whisk together the flour, cocoa powder, baking soda, and salt. Set it aside.
- In a large mixing bowl, cream the softened butter and granulated sugar together until light and fluffy—about 2-3 minutes.
- Add in the egg, red food coloring, vanilla extract, and vinegar. Mix until everything is well combined.
- Gradually add the dry ingredients to the wet mixture, mixing until just combined. Be careful not to overmix!
- Using a cookie scoop or spoon, drop rounded tablespoons of dough onto the prepared baking sheet, spacing them about 2 inches apart.
- Bake in the preheated oven for 10-12 minutes or until the edges are set. The centers might look slightly underbaked; that’s okay!
- Remove from the oven and let them cool on the baking sheet for 5 minutes before transferring to a cooling rack.
- While the cookies cool, prepare the cream cheese filling. In a mixing bowl, beat together the softened cream cheese and butter until smooth.
- Gradually add the powdered sugar and vanilla extract, mixing until fluffy.
- Once the cookies have cooled completely, spread a generous amount of cream cheese filling onto the flat side of one cookie and sandwich it with another cookie.
- Repeat until all cookies are filled. Enjoy your delicious red velvet Oreo cookies!
Remember to keep an eye on the baking time! Every oven is different, so you might need to adjust slightly. If you want to make sure they’re just right, do the classic “toothpick test” at the 10-minute mark!
Cooking Tips & Techniques
Here are some handy tips to help you perfect your red velvet Oreo cookies:
- Measure accurately: Baking is a science, so be sure to measure your ingredients correctly for the best results.
- Room temperature ingredients: Bring your eggs and butter to room temperature before mixing. It helps achieve a smoother batter.
- Don’t overmix: Once you add the flour mixture, mix just until combined to keep the cookies tender.
- Cooling is key: Allow the cookies to cool completely before adding the filling. This prevents the filling from melting and makes for a better sandwich.
- Flavor boost: If you want an extra flavor kick, consider adding a touch of almond extract to the cream cheese filling!
And let’s not forget about the importance of patience—good things come to those who wait! Allowing the cookies to cool properly really makes a difference in texture.
Variations & Adaptations
Looking to switch things up? Here are a few fun variations to try:
- Chocolate Chip Twist: Add a handful of chocolate chips to the cookie dough for an extra chocolatey treat.
- Red Velvet Brownies: Instead of cookies, bake the same batter in a square pan for fudgy red velvet brownies!
- Nutty Delight: Fold in some chopped walnuts or pecans for added crunch and flavor.
- Gluten-Free Option: Substitute the all-purpose flour with a 1:1 gluten-free baking blend for a gluten-free treat.
Feel free to get creative! You can even use different frostings, like a mint or lemon-flavored filling, to match the season or occasion.
Serving & Storage Suggestions
These red velvet Oreo cookies are best served at room temperature. You can plate them up on a colorful platter for a fun presentation—perfect for parties! They pair wonderfully with a glass of cold milk or a cup of coffee.
When it comes to storage, keep any leftover cookies in an airtight container at room temperature for up to 3 days. If you want to keep them longer, you can freeze them! Just make sure to layer parchment paper between the cookies to prevent sticking. To enjoy later, simply let them thaw at room temperature before serving.
The flavors of the cookies develop beautifully over time, so you might find they taste even better the next day!
Nutritional Information & Benefits
Here’s a quick nutritional breakdown for each cookie (based on 12 cookies):
- Calories: 150
- Protein: 2g
- Fat: 7g
- Carbohydrates: 20g
- Sugar: 10g
- Fiber: 1g
These cookies are a fun treat that can be enjoyed in moderation! The cream cheese adds a bit of protein, and cocoa powder is rich in antioxidants. While they aren’t the healthiest option, every once in a while, indulging in a delicious cookie can bring a smile to your face!
Conclusion
If you’re looking for a delightful dessert that’s sure to make any occasion special, these delicious red velvet Oreo cookies are a must-try! They’re quick, easy, and packed with flavor, ensuring everyone will be asking for seconds.
Feel free to customize the recipe based on your preferences—whether it’s adding nuts, chocolate, or even trying out a different filling. I love these cookies for their nostalgic flavor and the joy they bring to gatherings. So, grab your ingredients, and let’s get baking together!
And don’t forget to share your creations with me! I’d love to hear how yours turned out and any fun variations you tried. Happy baking!
FAQs
1. Can I use a different type of food coloring?
Yes! Feel free to experiment with different colors for a fun twist. Just make sure to use gel food coloring for the best results.
2. How do I know when the cookies are done baking?
The edges should be set and slightly firm, while the centers may look slightly underbaked. They’ll continue to cook a bit as they cool.
3. Can I make these cookies ahead of time?
Absolutely! You can prepare the dough in advance and refrigerate it for up to 2 days. Just let it sit at room temperature for a bit before baking.
4. How should I store leftover cookies?
Keep them in an airtight container at room temperature for up to 3 days or freeze them for longer storage. Just layer parchment paper between cookies if freezing.
5. Can I substitute the cream cheese filling?
Sure! You can use buttercream, whipped cream, or even a dairy-free alternative to change up the filling. Get creative!
Pin This Recipe!


Delicious Red Velvet Oreo Cookies
- Total Time: 27 minutes
- Yield: 12 cookies 1x
Description
These red velvet Oreo cookies are a delightful treat that combines rich cocoa flavor with a creamy filling, perfect for any occasion.
Ingredients
- 1 ½ cups all-purpose flour (sifted)
- ½ cup unsweetened cocoa powder
- 1 teaspoon baking soda
- ½ teaspoon salt
- ½ cup unsalted butter (softened to room temperature)
- 1 cup granulated sugar
- 1 large egg (at room temperature)
- 1 tablespoon red food coloring
- 1 teaspoon vanilla extract
- 1 teaspoon white vinegar
- 8 oz cream cheese (softened)
- ½ cup unsalted butter (softened)
- 2 cups powdered sugar (sifted)
- 1 teaspoon vanilla extract
Instructions
- Preheat your oven to 350°F (175°C).
- In a medium bowl, whisk together the flour, cocoa powder, baking soda, and salt. Set it aside.
- In a large mixing bowl, cream the softened butter and granulated sugar together until light and fluffy—about 2-3 minutes.
- Add in the egg, red food coloring, vanilla extract, and vinegar. Mix until everything is well combined.
- Gradually add the dry ingredients to the wet mixture, mixing until just combined. Be careful not to overmix!
- Using a cookie scoop or spoon, drop rounded tablespoons of dough onto the prepared baking sheet, spacing them about 2 inches apart.
- Bake in the preheated oven for 10-12 minutes or until the edges are set.
- Remove from the oven and let them cool on the baking sheet for 5 minutes before transferring to a cooling rack.
- While the cookies cool, prepare the cream cheese filling. In a mixing bowl, beat together the softened cream cheese and butter until smooth.
- Gradually add the powdered sugar and vanilla extract, mixing until fluffy.
- Once the cookies have cooled completely, spread a generous amount of cream cheese filling onto the flat side of one cookie and sandwich it with another cookie.
- Repeat until all cookies are filled. Enjoy your delicious red velvet Oreo cookies!
Notes
Allow cookies to cool completely before adding the filling to prevent melting.
- Prep Time: 15 minutes
- Cook Time: 12 minutes
- Category: Dessert
- Cuisine: American
Nutrition
- Serving Size: 1 cookie
- Calories: 150
- Sugar: 10
- Fat: 7
- Carbohydrates: 20
- Fiber: 1
- Protein: 2
Keywords: red velvet, cookies, dessert, easy recipes, baking